
Source: 2021 International Residential Code, chapter 9, sections R903.2 and R905.2.8.
Roof flashing installation is the work of sealing every place the roof surface is interrupted: where it meets a wall or chimney, changes direction at a valley, ends at an edge, or is pierced by a pipe or vent. Flashing is done with layered pieces of metal, and sometimes membrane, lapped so water always runs over the top of the piece below it. When flashing is installed in the right order, water never needs caulk to stay out. When it is not, it is where most roof leaks start.
This guide shows where each type of flashing goes, how it is installed, the code minimums behind it, and the shortcuts that cause leaks. If you have a leak at a wall, chimney or vent right now, our roof repair page explains how we find the source and fix it.
In this guide
- Where flashing goes on a roof
- Step flashing along a wall
- Chimney flashing and crickets
- Valley flashing
- Drip edge at the eaves and rakes
- Pipe boots and vents
- Flashing mistakes that cause leaks
- Flashing on Texas homes
- Repair or reflash?
- Roof flashing questions
Where flashing goes on a roof
The 2021 International Residential Code says flashing has to be installed at wall and roof intersections, wherever the roof changes slope or direction, and around roof openings, and that metal flashing must be corrosion resistant and at least 0.019 inch thick (No. 26 galvanized sheet). On a typical house that adds up to these pieces:
| Flashing | Where it goes | What it does |
|---|---|---|
| Step flashing | Where a sloped roof runs up beside a wall, dormer or chimney side | L-shaped pieces woven into each shingle course |
| Counterflashing | Over step or base flashing on a chimney or masonry wall | Covers the top edge so water cannot get behind it |
| Headwall (apron) flashing | Where the top of a roof meets a wall | Carries water from the wall out onto the shingles |
| Valley flashing | Where two roof planes meet in an inside corner | Lines the channel that carries the most water |
| Drip edge | Along the eaves and rakes | Kicks water off the edge, away from the fascia |
| Pipe boots and vent flashing | Around plumbing vents and roof vents | Seals each hole through the roof |
| Cricket (saddle) | Uphill side of a wide chimney | Splits water around the chimney instead of against it |
Source: code requirements from IRC 2021 R903.2 and R905.2.8; installation details from This Old House.
Step flashing along a wall
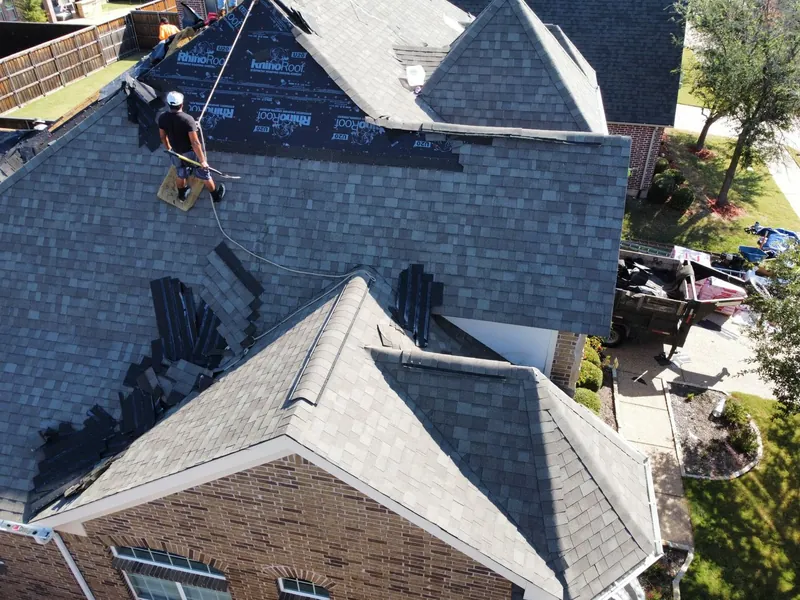
Where a sloped roof runs alongside a wall, flashing goes in one course at a time. This Old House shows the method (updated June 2026): before each row of shingles, a piece of L-shaped step flashing is set tight against the wall and the roof, nailed with a single nail in its upper corner into the roof deck, never into the wall, and then covered by the next course of shingles. Each piece laps over the one below it, like the shingles themselves. The siding then comes down over the vertical leg.
The code minimum for sidewall flashing is 4 inches high and 4 inches wide, and it must steer water away from the wall onto the roof or into the gutter. Where there is siding, the vertical leg of the flashing has to run continuously under it.
Chimney flashing and crickets
A chimney needs two layers. Step flashing is woven into the shingles up each side, and counterflashing, a second piece of metal set into the chimney's mortar joints, folds down over it. In This Old House's chimney flashing guide (updated May 2026), contractor Danny Lipford says his firm gets more calls about leaks around chimneys than any other problem, and that the corners, where the metal is cut and bent, are the most vulnerable spots.
On the uphill side of a chimney, a wide chimney needs a cricket, a small peaked roof that splits the water around it. The IRC requires one on the ridge side of any chimney or penetration more than 30 inches wide, covered in sheet metal or the same material as the roof. This Old House recommends covering a cricket with a self-adhering membrane before the metal or shingles go on.
Valley flashing
Valleys carry the water from two roof planes, so they get the most flow on the roof. The valley lining goes in before any shingles.
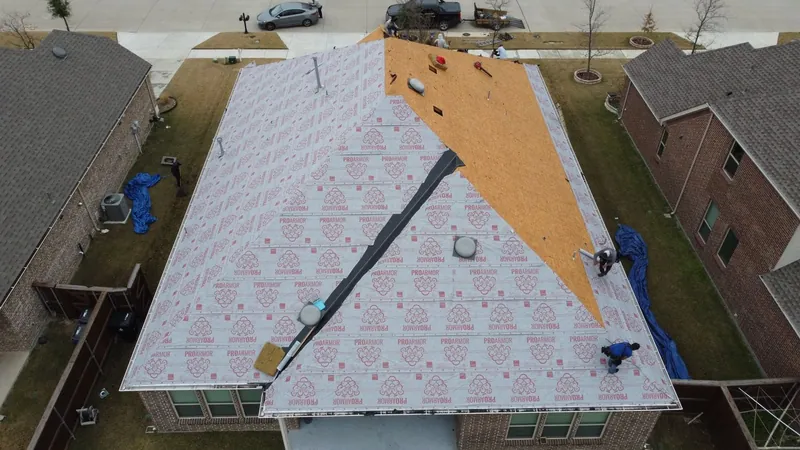
In an open valley lined with metal, the code calls for a lining at least 24 inches wide. In a closed valley, where shingles cover the channel, the code allows a 36-inch-wide ply of smooth roll roofing or a self-adhering membrane as the lining. Either way, the lining goes in by the shingle maker's instructions, which the code also requires.
Drip edge at the eaves and rakes
Drip edge is the metal angle along the roof's edges. The IRC requires it at the eaves and rakes of shingle roofs: lapped at least 2 inches where pieces meet, extending at least 1/4 inch below the roof sheathing and 2 inches back onto the deck, and fastened every 12 inches or closer. This Old House's Tom Silva adds a practical detail: hold the drip edge slightly off the fascia rather than nailing it tight, so water drops clear instead of clinging and running down the fascia board.
Pipe boots and vents
Every plumbing vent through your roof has a boot, a flashing with a rubber collar that seals around the pipe. The flange is slipped under the shingles above it and over the shingles below it, so water runs across it, not under it. Roof vents are flashed the same way.
In the Texas sun the rubber collars dry out and crack, and when they do, water runs straight down the pipe into the attic. So many of the leaks we see start at a vent boot, and it is one of the cheapest leaks to fix.
Flashing mistakes that cause leaks
- One long piece instead of steps. This Old House quotes Norm Abram: if a roofer wants to run one continuous piece of flashing up the side of a wall instead of individual step pieces, "you shouldn't have them do the job." Water gets behind a single piece.
- Caulk doing the work. Caulk is a backup at a cut corner, not a substitute for lapped metal. A caulk-only repair tends to fail within a season or two.
- Nails through the wrong place. A nail through the part of the flashing that water runs over is a hole in it. Step flashing takes one nail, high in the corner.
- Mixed metals. Different metals touching in a wet spot corrode each other. This Old House's example: copper flashing nailed with aluminum nails. Fasteners should match the flashing.
- Reusing tired flashing. Bent, rusted or brittle flashing that is left in place during a re-roof becomes the weak point of a brand-new roof.
Flashing on Texas homes
Two things about Texas houses put extra weight on flashing. First, brick. Many homes across Dallas-Fort Worth have brick walls and brick chimneys, and where a roof meets brick veneer the code points to separate base-flashing rules for masonry veneer. This Old House notes that aluminum and galvanized steel are the usual flashing metals in the South.
Second, weather. The sealants around flashing and the rubber in pipe boots dry out and harden in strong sun, and a Texas thunderstorm can push wind-driven rain sideways, under shingles and behind flashing that would shed a gentle rain without trouble. A roof with one loose run of flashing can stay dry for months, then leak the first time a storm drives water at it.
Repair or reflash?
When the shingles are sound and the leak is at one wall, one chimney or one vent, flashing can usually be reseated or replaced on its own, which is a much smaller job than a new roof. When the roof itself is near the end of its life, new flashing goes in with the new shingles; on a replacement we install new shingles, flashing, vents and ridge cap. Either way, the inspection comes first.
A free inspection from Viva Roofing covers every slope, the ridge, the flashing, the vents and the gutters, with close-up and drone photos you keep whether or not you hire us. We are a family-owned roofing company with an office in Frisco, working across Dallas-Fort Worth, San Antonio and Austin since 2021, from Plano and Frisco to Round Rock and New Braunfels. If your roof is leaking at a wall, chimney or vent, see our roof repair page or request a free inspection.
Roof flashing questions
What is roof flashing?
Thin pieces of metal, and sometimes membrane, installed wherever the roof surface is interrupted: at walls, chimneys, valleys, edges, vents and pipes. Each piece is lapped so water runs over the top of the piece below it and back onto the roof.
How is step flashing installed?
One piece per shingle course. Each L-shaped piece is set tight against the wall and the roof deck, nailed once in its upper corner into the deck, never into the wall, and covered by the next course of shingles. Siding or counterflashing then covers the vertical leg.
What thickness should roof flashing be?
The 2021 International Residential Code requires metal flashing to be corrosion resistant and at least 0.019 inch thick, which is No. 26 galvanized sheet.
Can roof flashing be replaced without replacing the roof?
Usually, yes. When the shingles are in good shape and the problem is one wall, one chimney or one vent, the flashing there can be reseated or replaced on its own. If the roof is near the end of its life, it is better to install new flashing with the new roof.
Should roof flashing be caulked?
Only as a backup, such as at a cut corner of chimney flashing. Properly lapped flashing sheds water on its own. A caulk-only fix tends to fail within a season or two in strong sun.
When does a chimney need a cricket?
The IRC requires a cricket or saddle on the uphill side of any chimney or roof penetration more than 30 inches wide, covered with sheet metal or the same material as the roof.
Is new flashing included with a new roof?
It should be. On our roof replacements we install new shingles, flashing, vents and ridge cap. Ask any roofer whether their quote reuses the old flashing, because tired flashing becomes the weak point of a new roof.